
Cryptocurrency, particularly stablecoins like Tether (USDT), has become a cornerstone in digital trading and storage of value. If you’re venturing into cryptocurrency or already hold some USDT, securing your holdings through a proper wallet is a critical step. In this guide, we will explore how to set up a secure USDT wallet, the types of wallets available, and essential security measures to protect your assets.
Understanding USDT Wallets
Before diving into the setup process, it’s essential to understand the different types of USDT wallets. USDT wallets can be categorized into hot wallets and cold wallets:
- Hot Wallets: These wallets are connected to the internet, offering ease of access and quick transactions. They are often software wallets available through apps or exchanges, making them convenient for frequent traders. However, because they are online, they are more vulnerable to hacking attempts.
- Cold Wallets: These operate offline, providing much higher security. Examples include hardware wallets and paper wallets. Since cold wallets are disconnected from the internet, they offer better protection against cyber threats but can be less convenient for daily transactions.
It’s recommended to use both types: hot wallets for day-to-day transactions and cold wallets for long-term storage of larger amounts of USDT.
Step-by-Step Guide to Setting Up a USDT Wallet
Step 1: Choosing the Right USDT Wallet
Selecting the right wallet is crucial, depending on your needs and security preferences. Here are some options:
- Hardware Wallets: These offer top-tier security by keeping your private keys offline. Popular options include Ledger and Trezor, which are widely trusted in the crypto community.
- Software Wallets: Applications like Exodus or Trust Wallet allow you to manage your USDT easily. However, they are connected to the internet, making them slightly more vulnerable than hardware wallets. It’s crucial to research the reputation and security features of any software wallet before using it.
- Web Wallets: Exchanges like Binance, Coinbase, and Cryptomus offer built-in web wallets for convenience. Keep in mind, with web wallets, you do not control the private keys, meaning you rely on the platform’s security. This can pose risks if the platform is compromised.
Step 2: Download and Install the Wallet
Once you’ve selected your wallet type, it’s time to download and install it.
- Hardware Wallets: Set up your hardware wallet by connecting it to your computer and following the instructions provided by the manufacturer. The process typically involves setting a PIN and generating recovery phrases.
- Software Wallets: Download the wallet from the official website or app store. Be cautious of phishing websites and always double-check you are downloading from the correct source.
- Web Wallets: Create an account on the platform (e.g., Binance or Coinbase), following their registration process. You may need to verify your identity depending on the platform’s regulations.
Step 3: Generate a New Wallet
After installing your wallet, you’ll need to create a new wallet by following these steps:
- Follow Setup Instructions: Wallets generally provide a step-by-step guide to set up, including creating a strong password and generating a recovery phrase. The recovery phrase is crucial for accessing your wallet if you lose your device, so store it in a secure location.
- Backup Your Wallet: Write down your backup or recovery phrase and keep it safe. This phrase will allow you to restore your wallet in case of device failure or loss. Never share this phrase with anyone.
- Password Security: Choose a strong, complex password to protect your wallet. If possible, use a password manager to store it securely.
Step 4: Enable Additional Security Features
To further enhance the security of your wallet, enable the following features where applicable:
- Two-Factor Authentication (2FA): Enabling 2FA adds an additional layer of security. Each time you log in, you’ll need a verification code sent to your mobile device.
- Biometric Authentication: If your wallet supports fingerprint or facial recognition, enable it for an extra level of protection.
- Security Questions: Set up security questions as an additional layer of authentication.
Step 5: Fund Your Wallet
With your wallet securely set up, it’s time to add USDT:
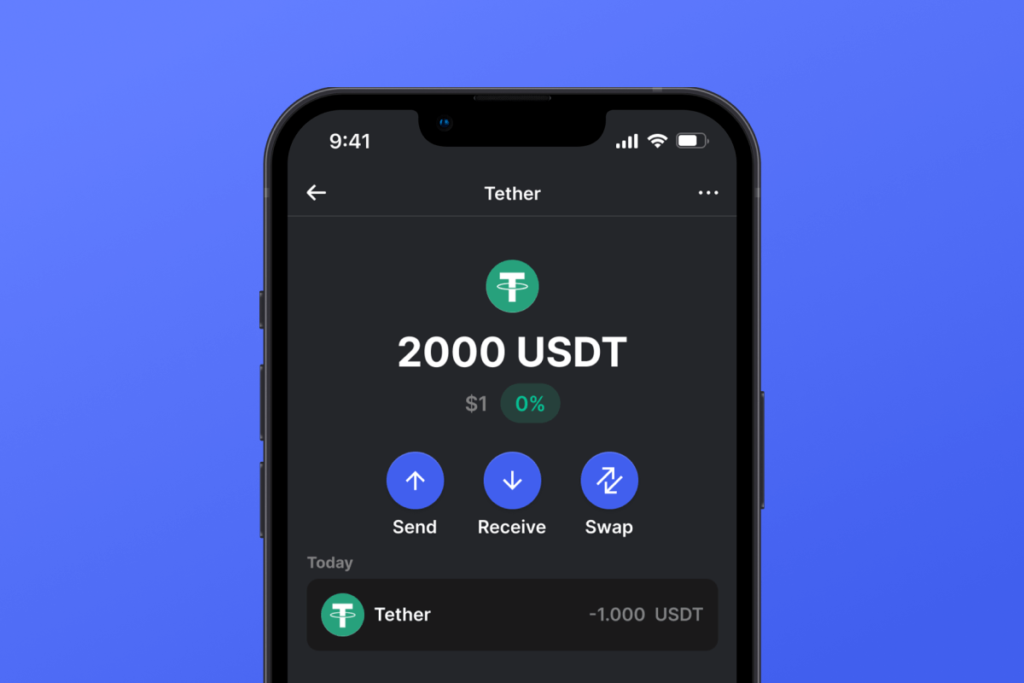
- Receive USDT: To receive USDT, locate your wallet’s unique USDT address. This can usually be found in the “Receive” section of your wallet. Share this address with the sender to receive funds.
- Purchase USDT: If you want to buy USDT, you can purchase it on a cryptocurrency exchange and withdraw it to your wallet. Be sure to follow the platform’s steps for buying and transferring funds securely.
Step 6: Regular Maintenance and Monitoring
Securing your USDT wallet is not a one-time task. It requires regular updates and monitoring:
- Update Your Wallet Regularly: Always check for software updates to ensure your wallet is equipped with the latest security features.
- Monitor Transactions: Regularly review your transaction history to catch any suspicious activities early.
- Review Security Practices: Periodically review your security settings to ensure they remain robust.
Conclusion
Setting up and maintaining a secure USDT wallet is essential to safeguarding your digital assets. By selecting the right wallet, enabling crucial security features, and practicing regular monitoring, you can protect your USDT from potential threats. Remember that security is paramount in the world of cryptocurrency. Stay informed and vigilant to ensure the safety of your funds.
This guide equips you with all the tools you need to securely install and manage a USDT wallet, enabling you to confidently participate in the cryptocurrency ecosystem.